Syncthing + FileBrowser Quantum
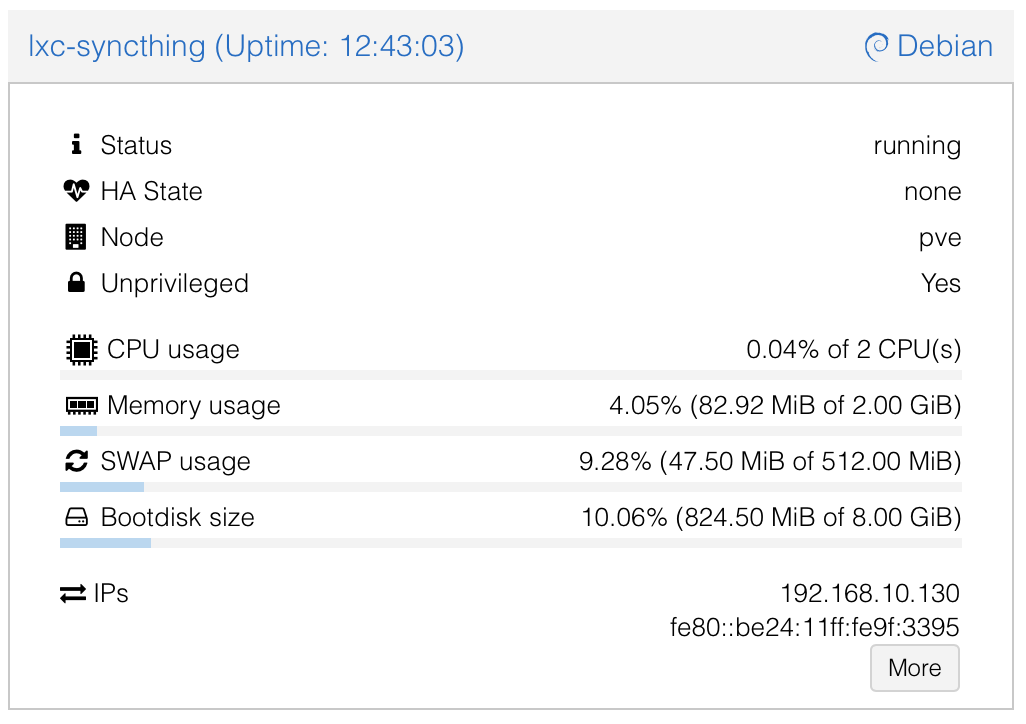
The easiest and most reliable way is to use the Proxmox VE Community Helper-Script, which automates everything (including installing Syncthing from the Debian repo). It creates an LXC with reasonable defaults (~2GB RAM max, 2 cores—fine for large transfers, low usage normally).
Option 1: Recommended – Use the Community Script (Quick & Easy)
Run this single command in the Proxmox shell (node console):
bash -c "$(curl -fsSL https://raw.githubusercontent.com/community-scripts/ProxmoxVE/main/ct/syncthing.sh)"
- It sets up a privileged LXC by default (simpler permissions for mounted storage).
- Syncthing installs and runs initially as root (common with scripts), but we'll switch it to a dedicated user below.
- After creation, access the Syncthing web UI at
http://<LXC-IP>:8384(set GUI auth on first access).
Option 2: Manual Setup
If you prefer full control:
-
In Proxmox UI: Create a new unprivileged LXC (Debian/Bookworm template recommended).
- CPU: 2 cores
- RAM: 2048 MB (or adjust)
- Storage: 8-20 GB root disk
- Network: Static IP or DHCP
-
Start the LXC, open console, and install Syncthing:
apt update && apt upgrade -y
apt install syncthing -y
Post-Setup: Run Syncthing as a Dedicated Non-Root User (Security Best Practice)
The community script (or manual install) often starts Syncthing as root initially. Switch it to a proper user to avoid warnings and reduce risk.
- Stop and disable the root service:
systemctl stop syncthing@root
systemctl disable syncthing@root
systemctl list-unit-files | grep syncthing # Verify it's disabled- Create a dedicated system user:
adduser --system --group --home /var/lib/syncthing --shell /usr/sbin/nologin syncthing- Migrate existing config (if any from root run):
mkdir -p /var/lib/syncthing/.config
cp -a /root/.config/syncthing/* /var/lib/syncthing/.config/ 2>/dev/null || true
chown -R syncthing:syncthing /var/lib/syncthing- Create and secure your data directory (e.g., for your shares):
mkdir /data
chown -R syncthing:syncthing /data
chmod -R 750 /data- Later, mount your Proxmox storage here (e.g., bind-mount
/data/usera,/data/userb,/data/sharedfrom host via Proxmox UI > LXC > Resources > Add MP).
- Enable and start as the new user:
systemctl enable syncthing@syncthing
systemctl start syncthing@syncthing
systemctl status syncthing@syncthing  # Check it's running
Integrating with Your FileBrowser Shares
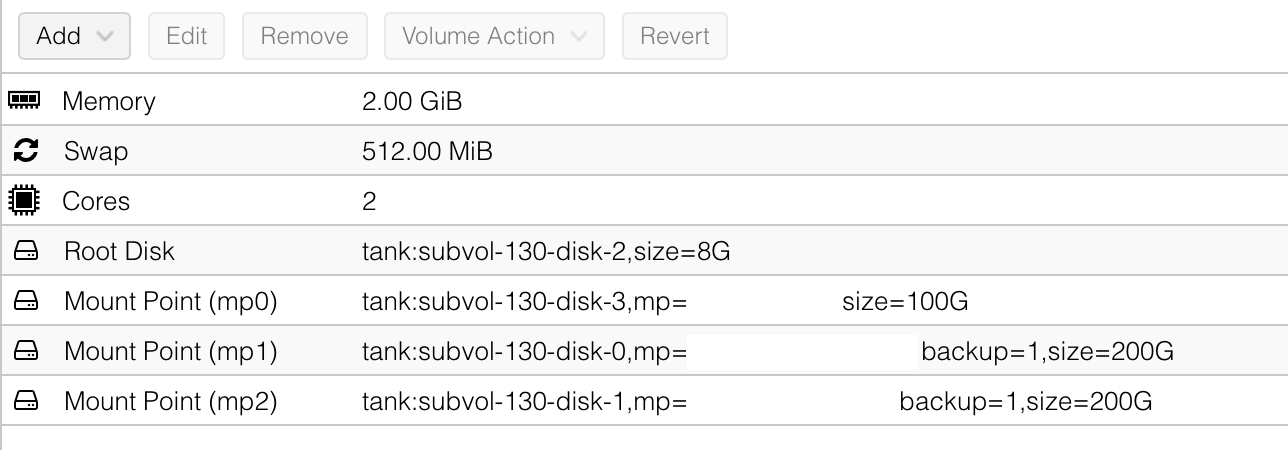
- In Proxmox: Add bind mounts for your host directories to the LXC (e.g., mount host
/path/to/data/usera→ LXC/data/usera). See above image. - In Syncthing UI: Add folders pointing to
/data/usera,/data/userb,/data/shared.- Set "Send Only" for private user folders if laptops should receive but not push changes back.
- Full bi-directional for
/data/shared.
Config File for FileBrowser Quantum
The only way to have FileBrowser Quantum show correct used and remaining size of a mount point is to map each mount point as a separate source in the config file. This is how mine looks right now which maps each mount point as a source and the users will be granted access to he shared source and their users source only. This way we keep things separate from each other but have one central share for all the users of the system.
# FileBrowserQuantum Config File /syncthing-data/fbq-config.yaml
server:
port: 8080
externalUrl: "https://files.example.com"
database: /syncthing-data/database.db
sources:
- path: /syncthing-data/home/usera
name: Home UserA
config:
defaultEnabled: false
- path: /syncthing-data/home/userb
name: Home UserB
config:
defaultEnabled: false
- path: /syncthing-data/shared
name: Shared Drive
config:
defaultEnabled: true
logging:
- levels: info|warning|error
apiLevels: info|warning|error
output: stdout
noColors: false
utc: false
frontend:
name: FileBrowser Quantum
auth:
adminUsername: admin
userDefaults:
permissions:
api: false
admin: false
modify: false
share: false
realtime: false
delete: false
create: false
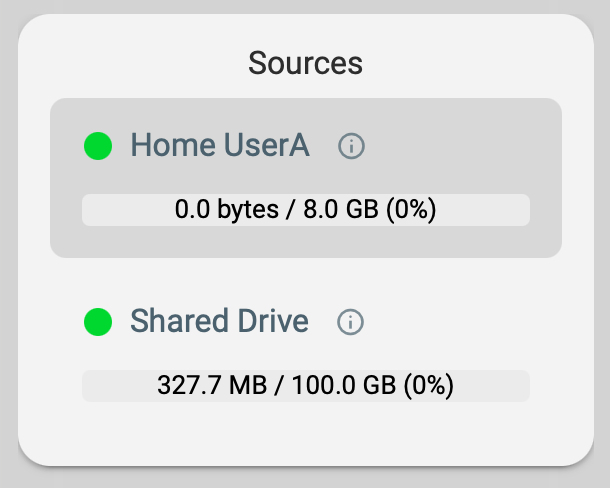
download: falseBy setting it up this way, you can then assign the sources in Filebrowser Quantum to the user
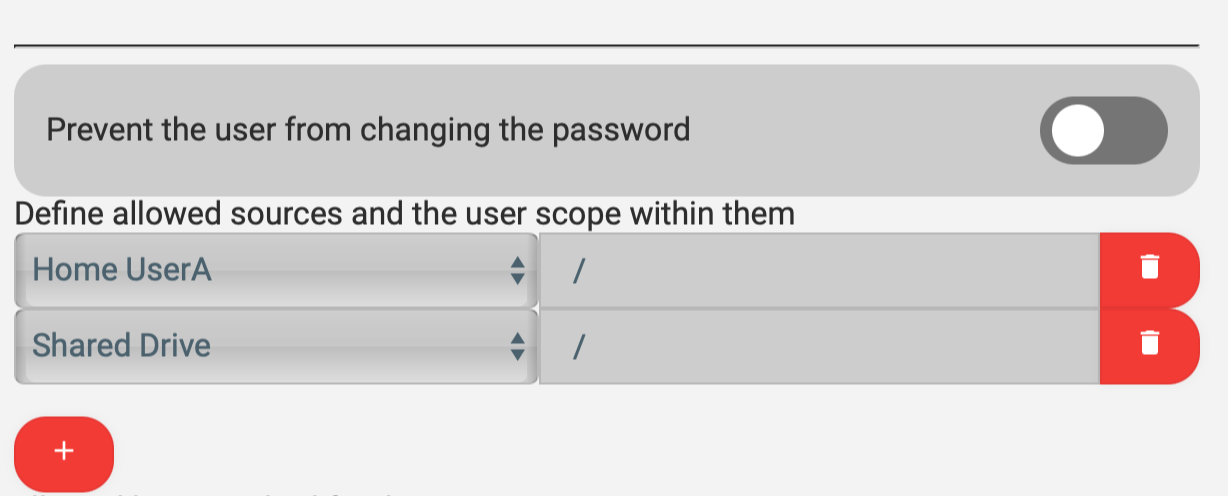
They will then appear on the Home Screen on the left side with their correct usage values.
Hub-First Setup Reminder
- Configure folders and generate device IDs on the Proxmox hub first.
- Then install Syncthing on your laptop(s), add the hub's device ID, and connect (hub as introducer for easy hub-and-spoke).
No comments to display
No comments to display