Syncthing + FileBrowser Quantum
SettingThe upeasiest Synchingand inmost Proxmoxreliable way is really easy. You can do it by yourself, or justto use the pre-madeProxmox VE Community Helper-Script, forwhich it.
Ieverything used(including installing Syncthing from the scriptDebian whichrepo). createdIt creates an LXC with maximumreasonable defaults (~2GB RAM max, 2 GBcores—fine RAM,for large transfers, low usage normally).
Option 1: Recommended – Use the Community Script (Quick & Easy)
Run this single command in the Proxmox shell (node console):
bash -c "$(curl -fsSL https://raw.githubusercontent.com/community-scripts/ProxmoxVE/main/ct/syncthing.sh)"
http://<LXC-IP>:8384 (set GUI auth on Option 2: Manual Setup
If you wantprefer tofull setcontrol:
In yourProxmox own,UI: createCreate a new unprivileged LXC with(Debian/Bookworm template recommended).
Start the settings below.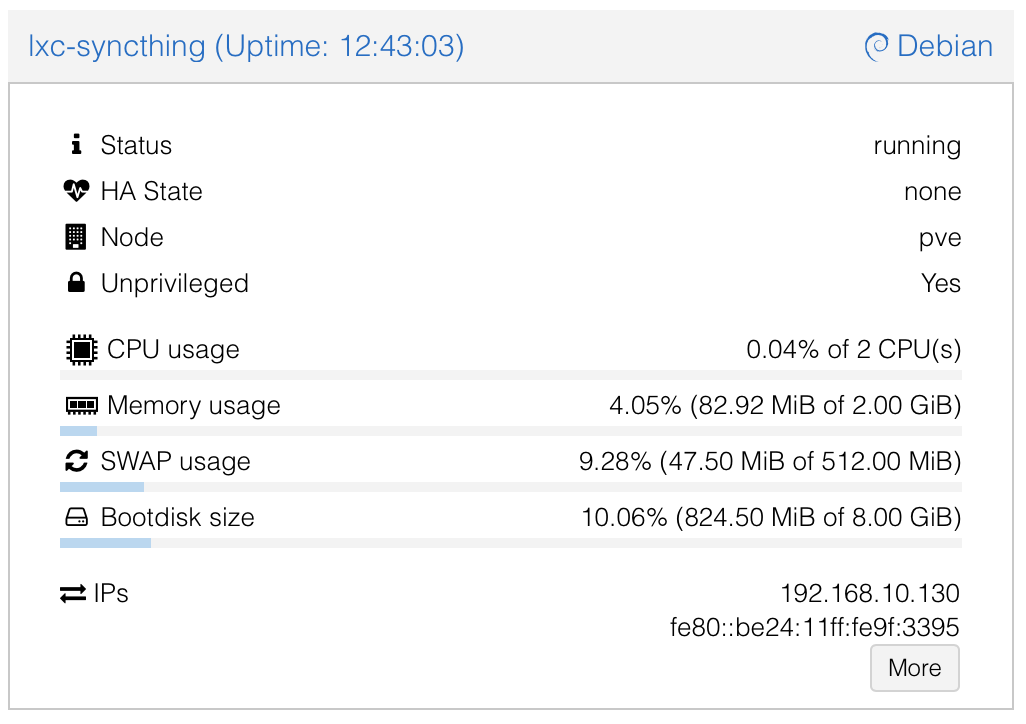
After the LXC is created,LXC, open a consoleconsole, and install Syncthing via the Debian Package Repository.Syncthing:
apt update && apt upgrade -y
apt install syncthing -y
CreatingPost-Setup: Run Syncthing as a userDedicated andNon-Root movingUser the(Security configurationBest filesPractice)
The Communityscript Script(or doesmanual notinstall) createoften starts Syncthing as root initially. Switch it to a separateproper user forto syncthing,avoid aswarnings such,and wereduce will do it now.risk.
1.
systemctl stop syncthing@root
systemctl disable syncthing@root
systemctl list-unit-files | grep syncthing  # Verify it's disabled
adduser --system --group --home /var/lib/syncthing --shell /usr/sbin/nologin syncthing
mkdir -p /var/lib/syncthing/.config
cp -a /root/.config/syncthing/* /var/lib/syncthing/.config/ 2>/dev/null || true
chown -R syncthing:syncthing /var/lib/syncthing
mkdir /data
chown -R syncthing:syncthing /data
chmod -R 750 /data
And
systemctl list-unit-files | grep syncthing2. Create Syncthing System user
adduser \
  --system \
  --group \
  --home /var/lib/syncthing \
  --shell /usr/sbin/nologin \
  syncthing
3. Copy current config
The current config is here:bind-mount /, root/data/usera/data/userb, /data/shared from host via Proxmox UI > LXC > Resources > Add MP).config/syncthing
mkdir -p /var/lib/syncthing/.config
cp -a /root/.config/syncthing /var/lib/syncthing/.config/
chown -R syncthing:syncthing /var/lib/syncthing
4. Create and assign data folder
mkdir /data
chown -R syncthing:syncthing /data
chmod -R 750 /data
5. Start Syncthing as syncthing-User
systemctl enable syncthing@syncthing
systemctl start syncthing@syncthing
Check status
systemctl status syncthing@syncthing # Check it's running
Integrating with Your FileBrowser Shares
/path/to/data/usera → LXC /data/usera).
In Syncthing UI: Add folders pointing to /data/usera, /data/userb, /data/shared.
/data/shared.
Hub-First Setup Reminder
This pairs perfectly with your FileBrowser Quantum on the hub for web access/management. If you run into permission issues with mounts (common in unprivileged LXCs), switch to privileged or adjust UID/GID mapping.
Let me know if you need steps for mounting storage or connecting devices!
